How to integrate AirTable in front-end projects
🔐 - AirTable keys
Section titled “🔐 - AirTable keys”When working with AirTable, we need to make use of their PAT tokens (similar to API keys) to grant access to the application.
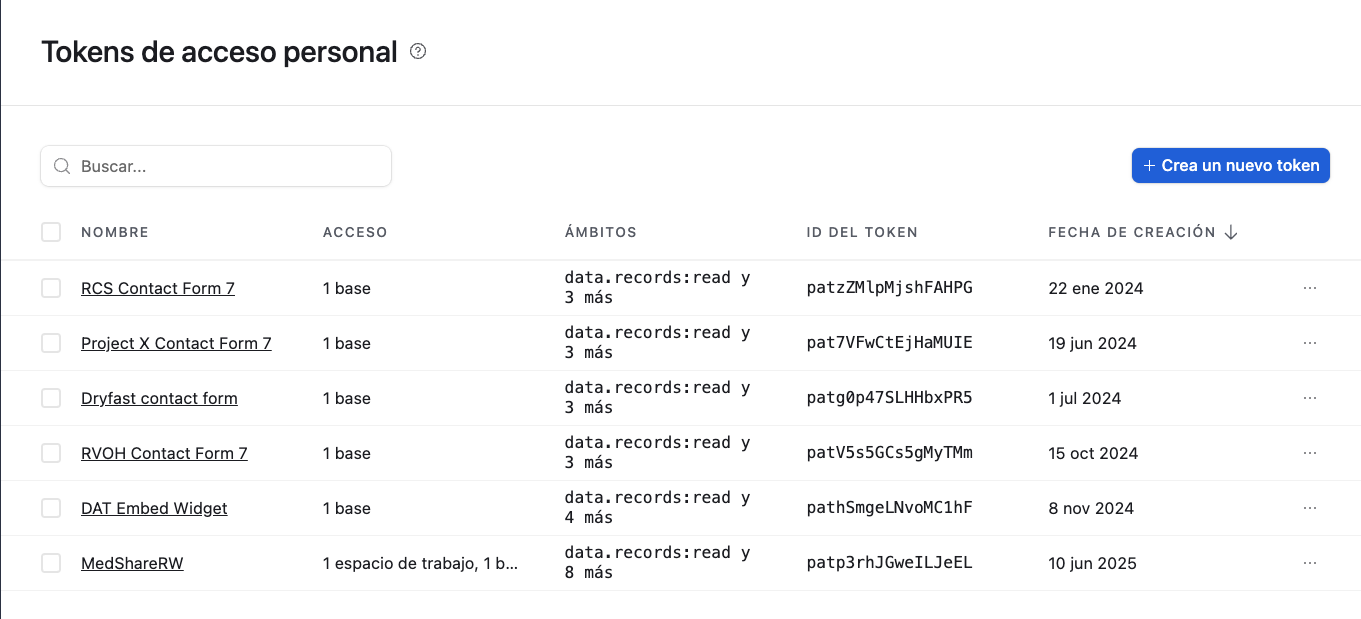
These tokens can be created in their create tokens page, that looks like this:
When we create a new token, we can choose the access it will have:
- Read / write permissions
- Permissions for only certain bases / workspaces
- Webhook permissions
We need to give each key the access it needs to do its job, instead of slapping all of the permissions on it and calling it a day.
Once we have our token, it will be displayed once for us to see it and copy it, store it in a safe place and continue on to the code.
💻 - In code
Section titled “💻 - In code”Whenever we use the Airtable JS client in our frontend projects, if we do it directly on the browser (in a Vue component or in a JS file inside the project, for instance), we will be exposing our key to the browser.
Even if we store the key in an .env file and do not upload it, the key will still be visible because it will be used by our front-end and exposed in our build.
To avoid this, we have two options:
In Nuxt / Astro projects
Section titled “In Nuxt / Astro projects”As we have easily available server-side options, what we will need to do is:
- Store our key in an .env file that will NOT be uploaded to the repository
- Instantiate our client ONLY in the server side, i.e. in API calls and use process.env.KEY to access the variable
- Make every operation regarding the client in these API calls and then use them to access the data from our front-end
Code examples:
.env file (ONLY AVAILABLE LOCALLY AND IN DEPLOYMENT ENVIRONMENT)
Section titled “.env file (ONLY AVAILABLE LOCALLY AND IN DEPLOYMENT ENVIRONMENT)”STRIPE_KEY=********STRIPE_TEST_KEY=******AIRTABLE_KEY=********AIRTABLE_BASE=*****API call to fetch information
Section titled “API call to fetch information”import Airtable from "airtable";
export default defineEventHandler(async (event) => { try { const airtable = new Airtable({ apiKey: process.env.AIRTABLE_KEY }).base(process.env.AIRTABLE_BASE);
const query = getQuery(event); const { filterByFormula, table } = query;
const response = await airtable(table) .select({ filterByFormula, maxRecords: 1, }) .firstPage(); return response; } catch (error) { console.error("Nuxt API Categories Error:", error); return createError({ statusCode: 500, statusMessage: error.message }); }});API call to post information
Section titled “API call to post information”import Airtable from "airtable";
export default defineEventHandler(async (event) => { try { // Get request body from the client const body = await readBody(event); const airtable = new Airtable({ apiKey: process.env.AIRTABLE_KEY }).base(process.env.AIRTABLE_BASE); const response = await airtable("User").create(body);
return response; } catch (error) { return createError({ statusCode: 500, statusMessage: "Device login failed" }); }});const userRecords = await $fetch("/api/v1/airtable/create-users", { method: "POST", body: [ { fields: { user_id: contactData.id, name: contactData.name, email: contactData.email, account_id: accountId, }, }, ],});const [fee] = await $fetch("api/v1/airtable/get-fees", { method: "GET", query: { table: "Costs", filterByFormula: `_code='${clientType}'`, },});In other front-end projects
Section titled “In other front-end projects”In projects where a server-side is not readily available, we will make use of Netlify’s serverless functions to use AirTable securely.
These functions execute on the server-side in our deployment environment and allow us access to a server when we don’t have one readily available.
The process here would be:
- Store our key in an .env file that will NOT be uploaded to the repository
- Create a serverless function to store our logic and tell Netlify where to find it
- Instantiate our client ONLY in the server side -> in those serverless functions
- Make every operation regarding the client in these functions and then use them to access the data from our front-end
Code examples:
Netlify.toml
Section titled “Netlify.toml”We need this file in the root of the project to indicate where to create the serverless functions
[build] functions = "netlify/functions"Netlify folder
Section titled “Netlify folder”We need a folder on the root of the project with a subfolder called functions to store our logic.
Serverless function
Section titled “Serverless function”Each function will be a file and it will later be used just like an API call would, using fetch.
‼️ - Important! The functions will only work AFTER deployment, if you make a function you will need to deploy it before being able to use it.
This is an example of a Serverless function to get data:
import Airtable from "airtable";
exports.handler = async (event, context) => {    try {        const airtable = new Airtable({ apiKey: process.env.AIRTABLE_KEY }).base(process.env.AIRTABLE_BASE);
        const query = getQuery(event);        const { filterByFormula, table } = query;
const response = await airtable(table) .select({ filterByFormula, maxRecords: 1, }) .firstPage(); return response; } catch (error) { console.error("Nuxt API Categories Error:", error); return createError({ statusCode: 500, statusMessage: error.message }); }};const [fee] = await $fetch("/.netlify/functions/get-fees", { method: "GET", query: { table: "Costs", filterByFormula: `_code='${clientType}'`, },});Knowledge Check
Test your understanding of this section
Loading questions...